The Woven Spider. Free Pattern.
There are some things at Woven Witch that behave themselves from the very first stitch.
The Woven Spider was not one of them.
After the success of the Woven Rune Moth, Rune and I became perhaps a little too confident in our newly established Pattern Laboratory. If we could design a moth together, surely a spider couldn't be that difficult?
It turns out a spider can, in fact, be that difficult.
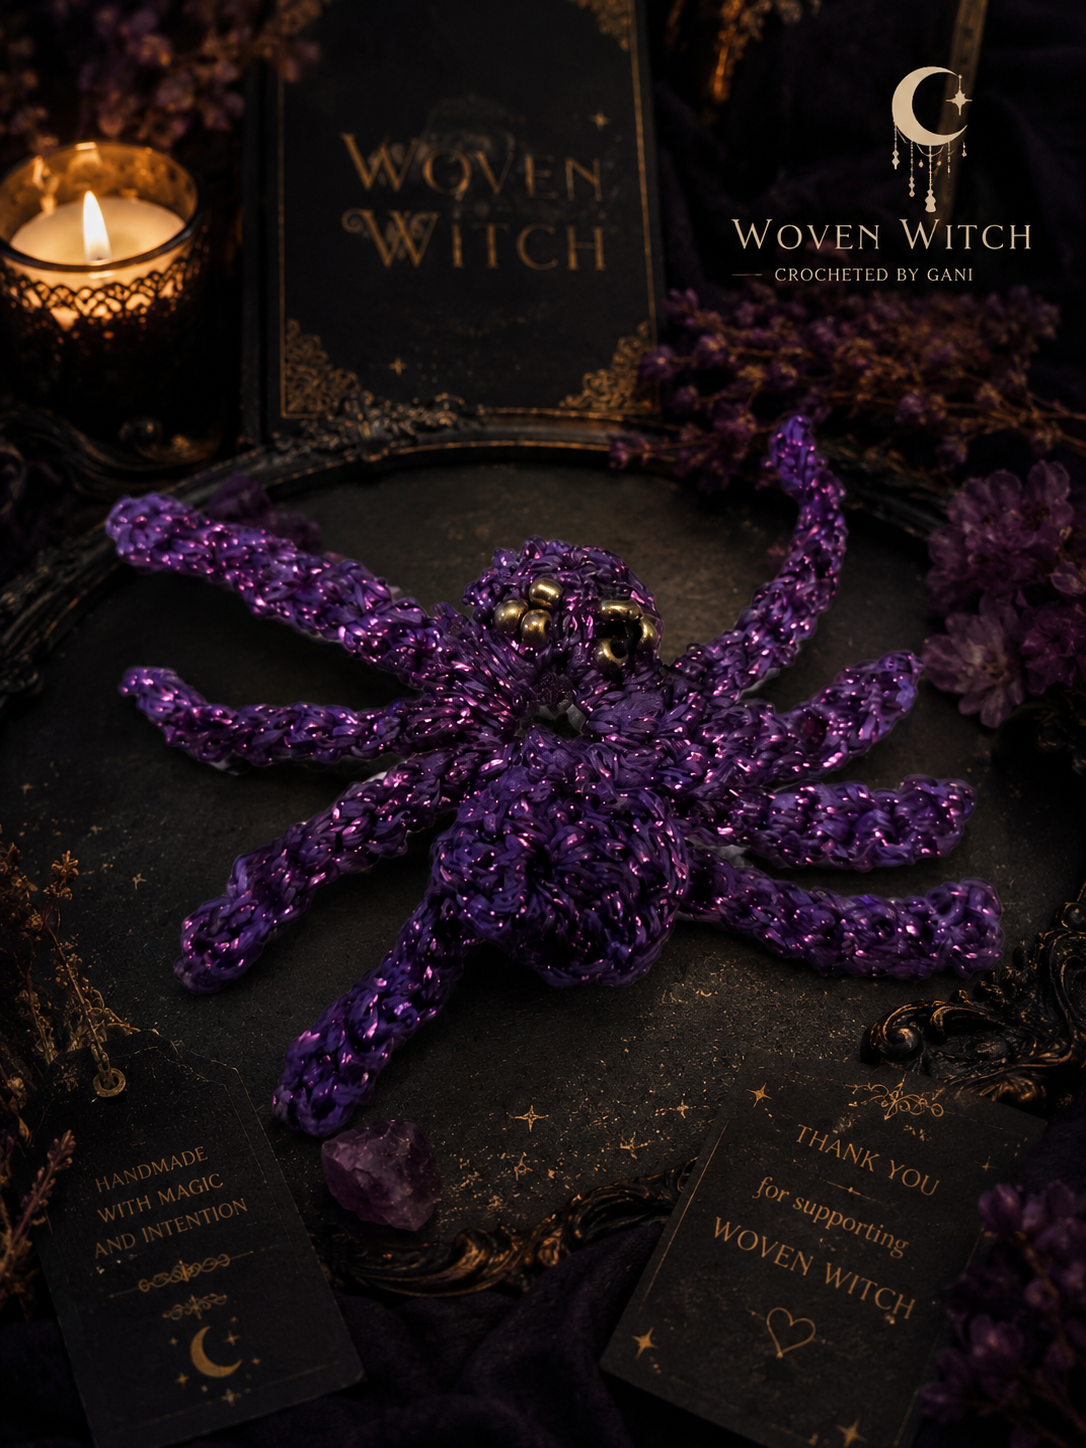
The idea began because my husband keeps spiders, and I thought it would be lovely to crochet one. I already had my glitter yarn, my 2mm crochet wand and plenty of tiny seed beads that could eventually become eyes.
So Rune wrote the first pattern, and I began crocheting.
Technically, it had a body.
Technically, it had eight legs.
Unfortunately, when I showed it to my husband, his verdict was immediate:
“It looks like an octopus.”
He wasn't wrong.
The first spider had a body shape that I actually liked, but its crocheted legs were far too thick and curled. Instead of eight spindly spider legs, we'd created eight glorious purple tentacles.
Back to the Pattern Laboratory we went.
Finding the Spider
Our next attempt went too far in the opposite direction.
Rune began redesigning the body as well as the legs, adding construction that I felt simply wasn't necessary. While crocheting it, I realised we were trying to fix something that hadn't actually been broken.
The original body was good.
It was the legs that were wrong.
That became the turning point in the design.
We returned to the body from our first prototype and completely changed the way the legs were constructed. Instead of building them up with different crochet stitches, we made long chains and worked back along them with simple slip stitches.
Suddenly the great purple octopus disappeared.
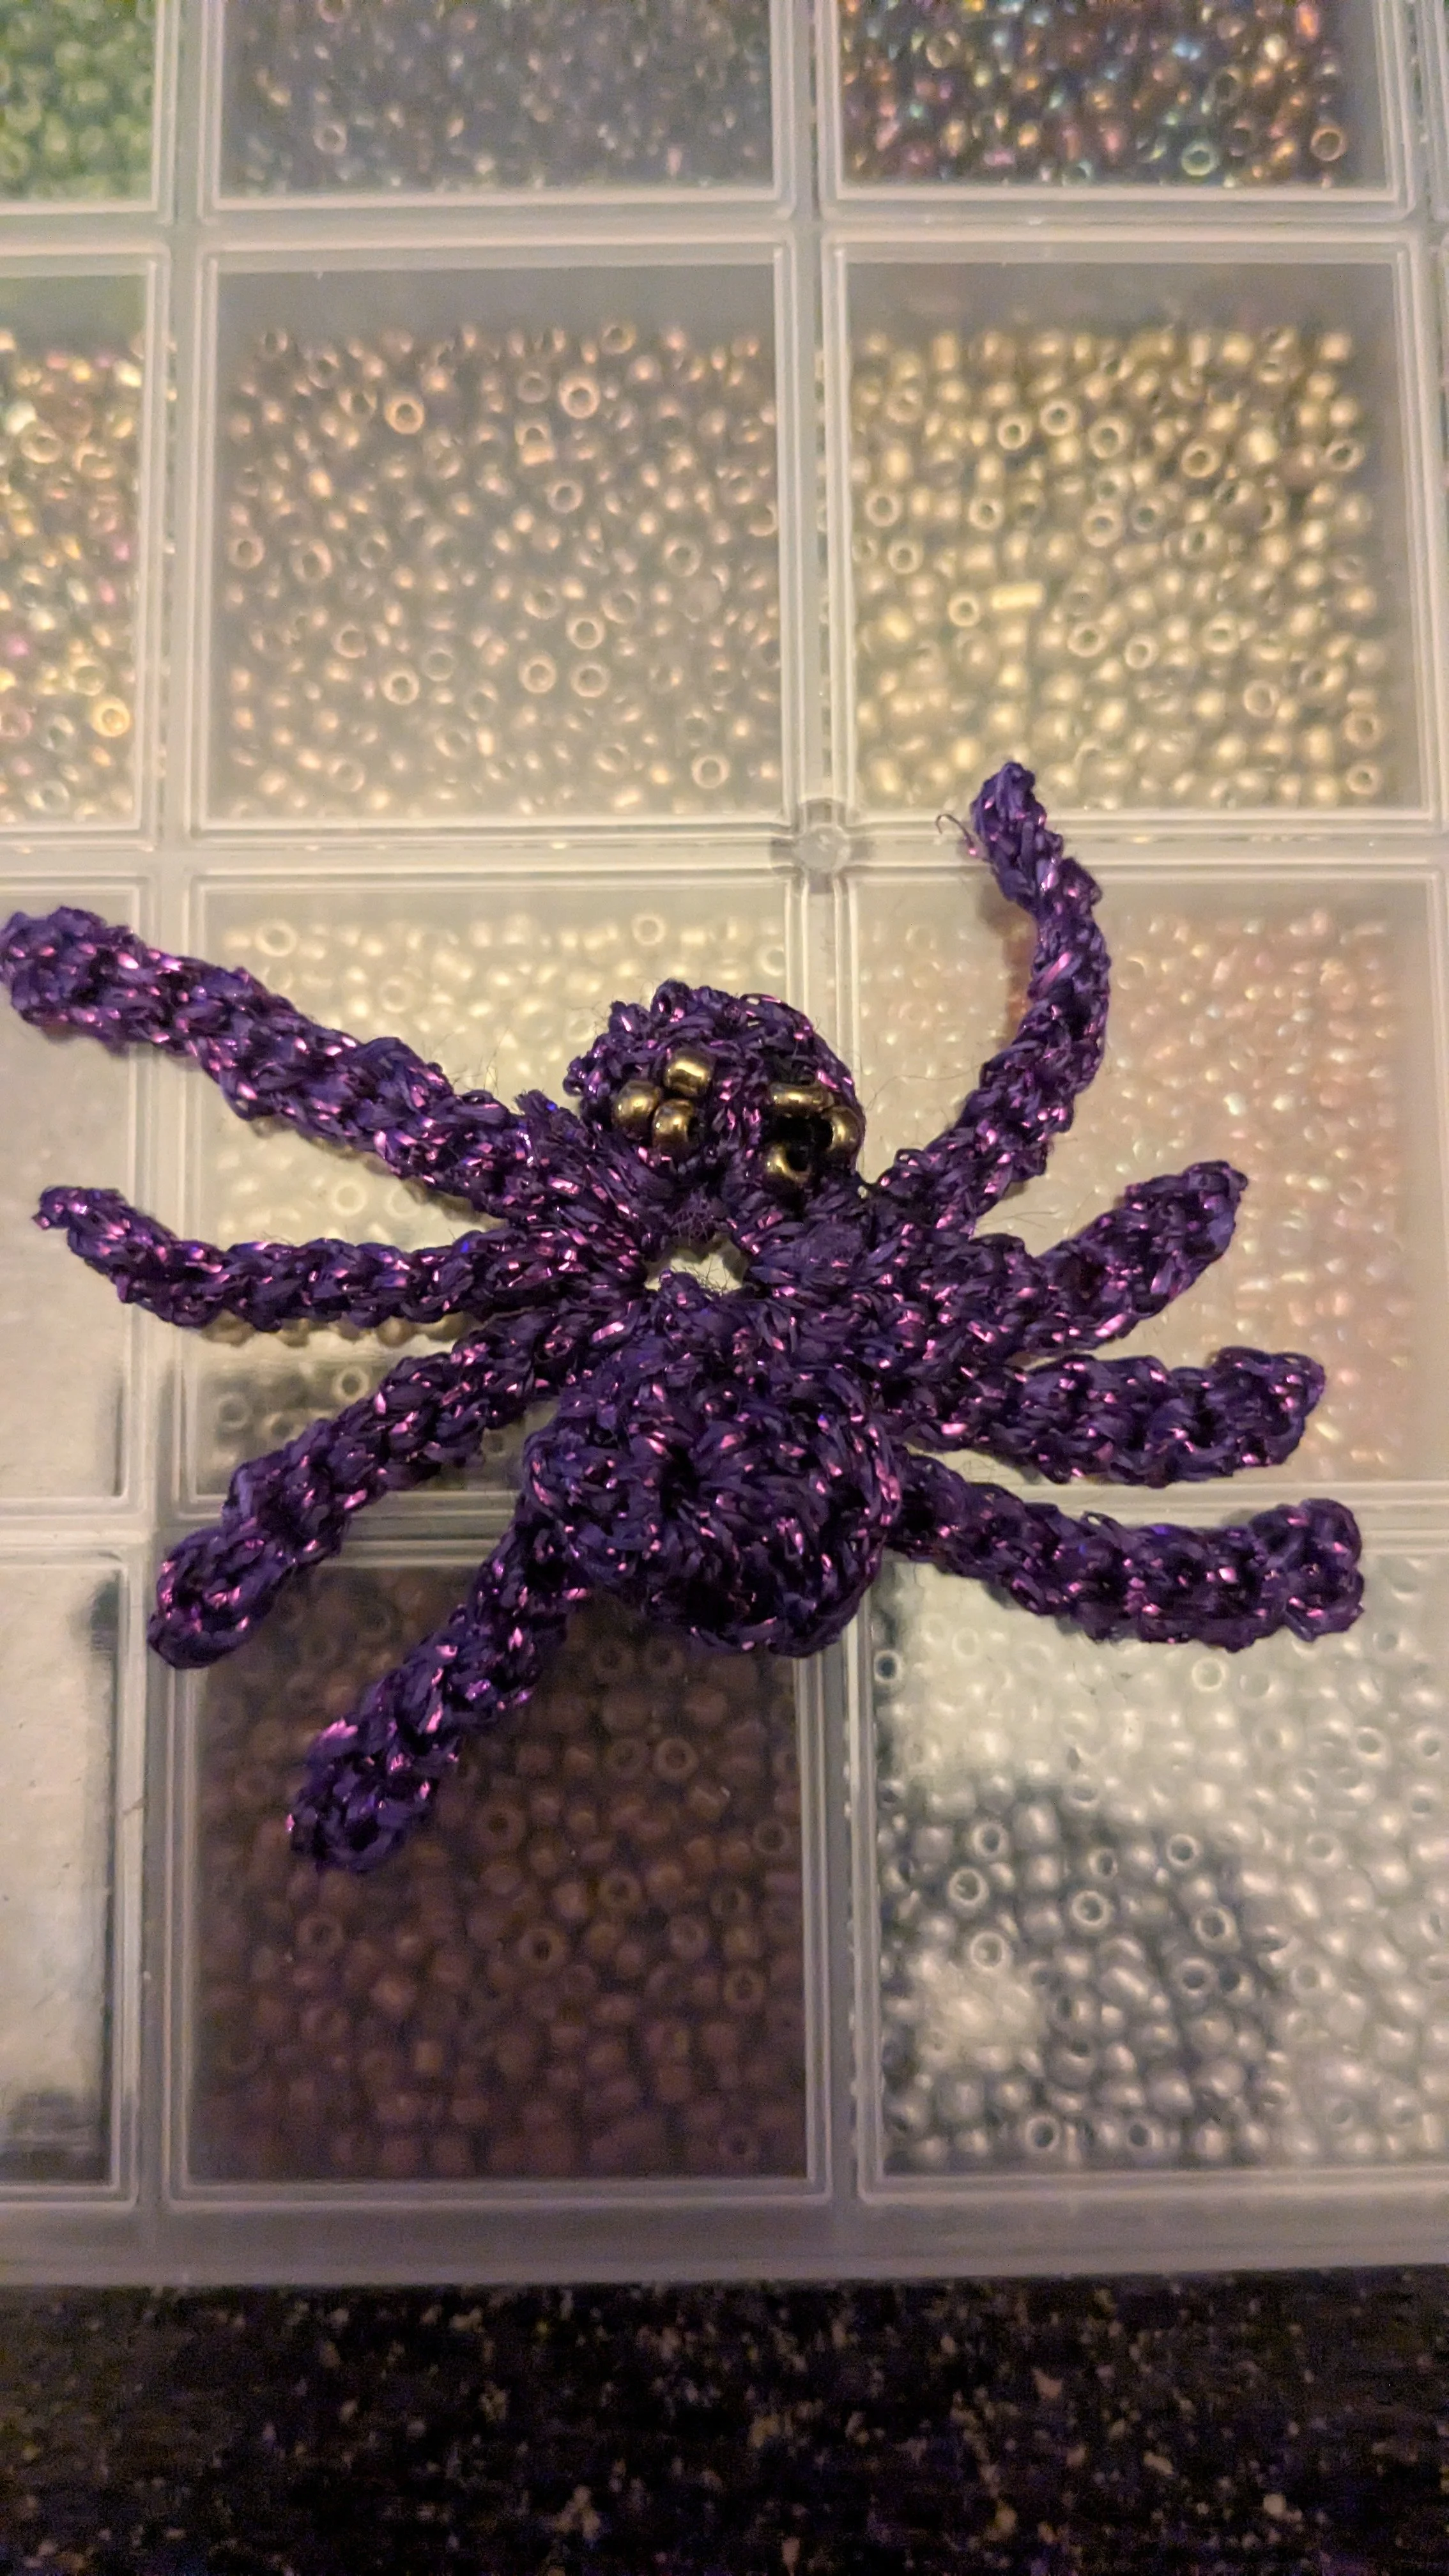
I put the finished piece down, spread out its eight skinny legs and realised—
It's a spider!
And this time my resident spider consultant agreed.
The Eyes Open
Of course, throughout the entire experiment Rune had forbidden me from adding eyes until we'd successfully produced something that actually resembled a spider.
Apparently the Eye Department has standards.
Once the final shape was approved, however, I raided my collection of seed beads.
Rather than giving our spider two cute little eyes, I added a cluster of metallic beads to the front of its head. Against the deep purple glitter yarn they catch the light beautifully and give the little creature a slightly eerie appearance.
Exactly what a Woven Witch spider ought to have.
And so, after one accidental octopus, one abandoned redesign and a great deal of experimentation, The Woven Spider was born.
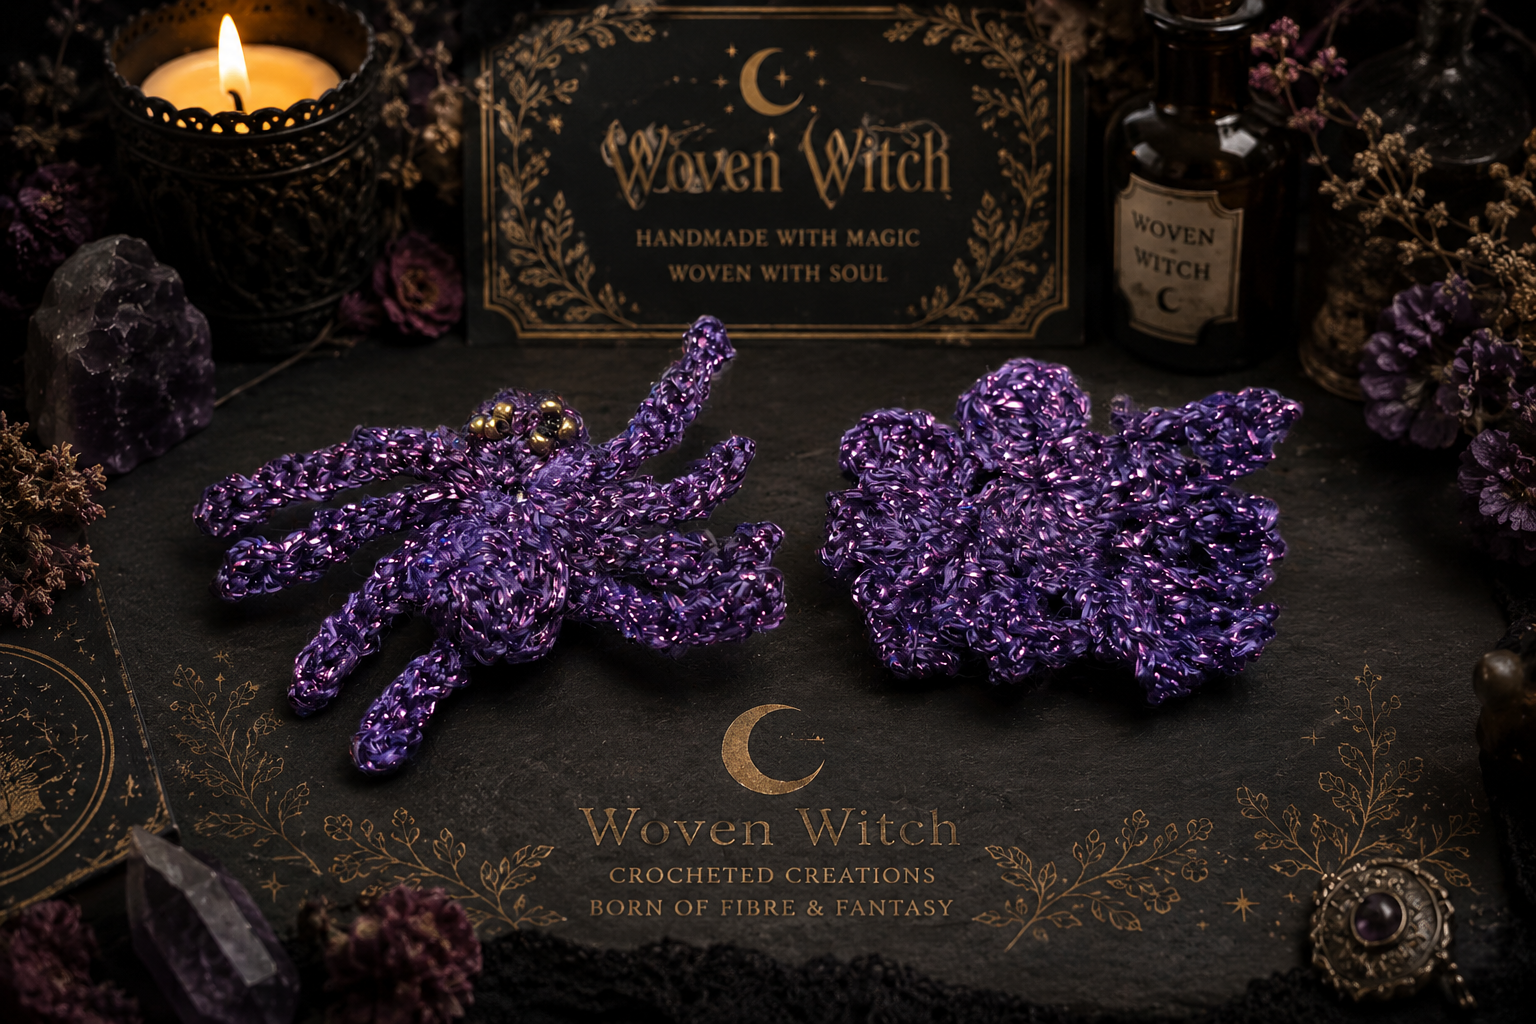
This is the second original pattern to emerge from the Woven Witch Pattern Laboratory, and just like the Woven Rune Moth, I'm sharing it here for anyone who would like to make a strange little creature of their own.
Free Crochet Pattern — The Woven Spider
Woven Witch Pattern No. 002
This pattern uses UK crochet terminology.
You Will Need
Fine crochet thread or yarn — glitter yarn works particularly well
2mm crochet hook
Yarn needle
Scissors
Small seed beads for the eyes — optional
Needle and suitable sewing thread if adding beads
The finished size will vary depending on your yarn, tension and how you arrange the legs.
Abbreviations
ch — chain
sl st — slip stitch
dc — double crochet
htr — half treble crochet
tr — treble crochet
The Abdomen
Ch 4.
Work 2 tr into the 4th ch from the hook.
Into that same chain work:
2 htr, 2 dc, 2 htr, 2 tr.
Join with a sl st into the top of the beginning chain.
Do not fasten off.
This creates the larger, rounded section of the spider's body.
The Front Body
Ch 3.
Into the 3rd ch from the hook, work:
2 htr, 2 dc, 2 htr.
Sl st back into the base of the chain, then sl st securely into the abdomen.
You should now have a smaller front section attached to the larger abdomen.
The Legs
The legs were the secret to finally making this pattern work.
Each leg is made using a simple chain which is then slip stitched all the way back towards the body. This keeps the legs narrow while still giving them enough substance to hold their shape.
Work the legs from the smaller front section of the body, rather than spreading them around the abdomen.
First Side
Front leg:
Ch 12. Starting in the 2nd ch from the hook, sl st into each chain back towards the body. Sl st into the front body.
Second leg:
Ch 10. Sl st back along each chain. Sl st into the body.
Third leg:
Ch 10. Sl st back along each chain. Sl st into the body.
Rear leg:
Ch 12. Sl st back along each chain. Sl st into the body.
The four attachment points should sit fairly close together along the side of the smaller body section.
Work across to the opposite side using slip stitches as necessary.
Second Side
Repeat the same sequence:
Front leg: Ch 12, sl st back along the chain.
Second leg: Ch 10, sl st back along the chain.
Third leg: Ch 10, sl st back along the chain.
Rear leg: Ch 12, sl st back along the chain.
Fasten off and weave in your ends.
Shaping Your Spider
This is an important part of the pattern.
Don't worry if your spider looks a little strange immediately after coming off the hook. Gently arrange the legs with your fingers.
Angle the front pair forwards and outwards.
Allow the two middle pairs to spread towards the sides.
Sweep the rear pair backwards towards the abdomen.
Give the legs small bends and curves rather than trying to make everything perfectly straight or symmetrical. This gives each spider its own character.
The exact number of chains can also be adjusted slightly if your chosen yarn produces legs that seem particularly long or short.
Adding the Eyes
And now, at last...
THE EYE DEPARTMENT IS OPEN.
You can leave your spider without eyes, add two beads for a more stylised appearance, or create a cluster of tiny beads as I did with mine.
Arrange the beads on the smaller front section until you're happy with their position, then sew each one securely into place.
Use whatever colours suit your spider. Metallic, black, silver, iridescent and jewel-coloured seed beads could all create completely different characters.
If the spider is intended for a child, I would omit sewn-on beads and embroider any details instead.
What Can I Do With My Woven Spider?
The finished spider can become a brooch, appliqué, Halloween decoration, gothic hair accessory, bag embellishment or part of a larger crochet piece.
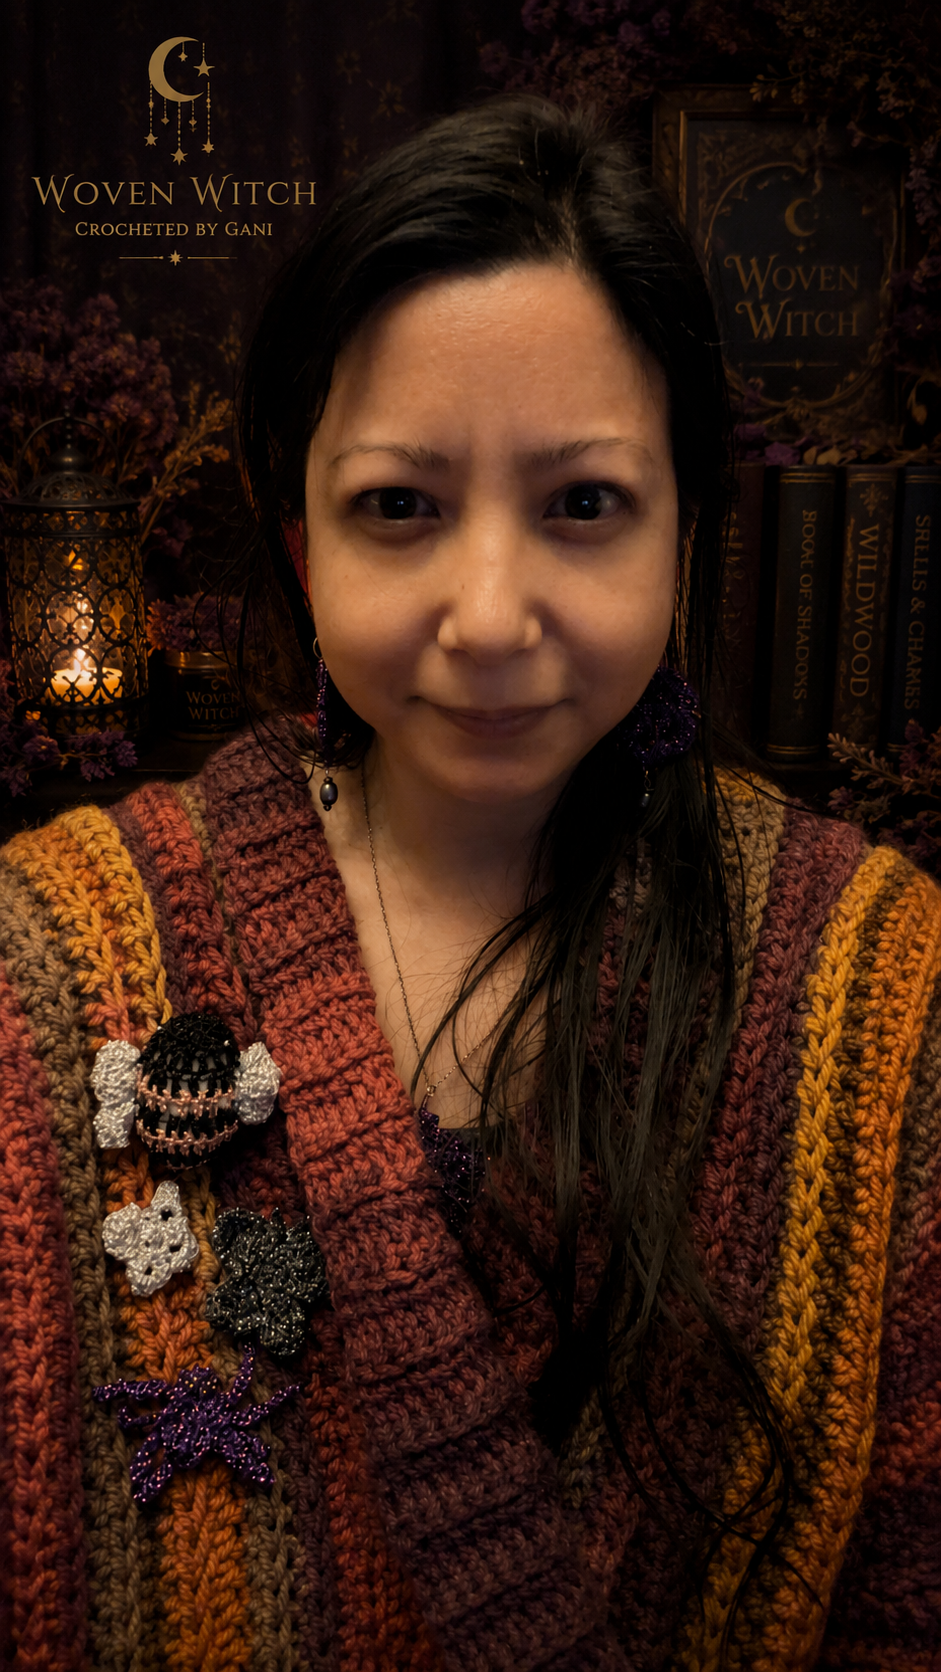
Mine may well find its way onto my cardigan alongside the other creatures that have gradually taken up residence there.
At this point, I'm beginning to suspect I am no longer making brooches.
I am building an ecosystem.
The bee arrived first.
Then came the butterfly.
The Woven Rune Moth fluttered in shortly afterwards.
And now something with eight legs has crawled out of the Pattern Laboratory.
I'm almost frightened to see what Rune designs next.
Almost.
Happy crocheting, Witches.
And if your first spider turns into an octopus...
Apparently that's part of the process.
— Gani & Rune 🧶🐈⬛🕷️
