The Woven Rune Moth free pattern.
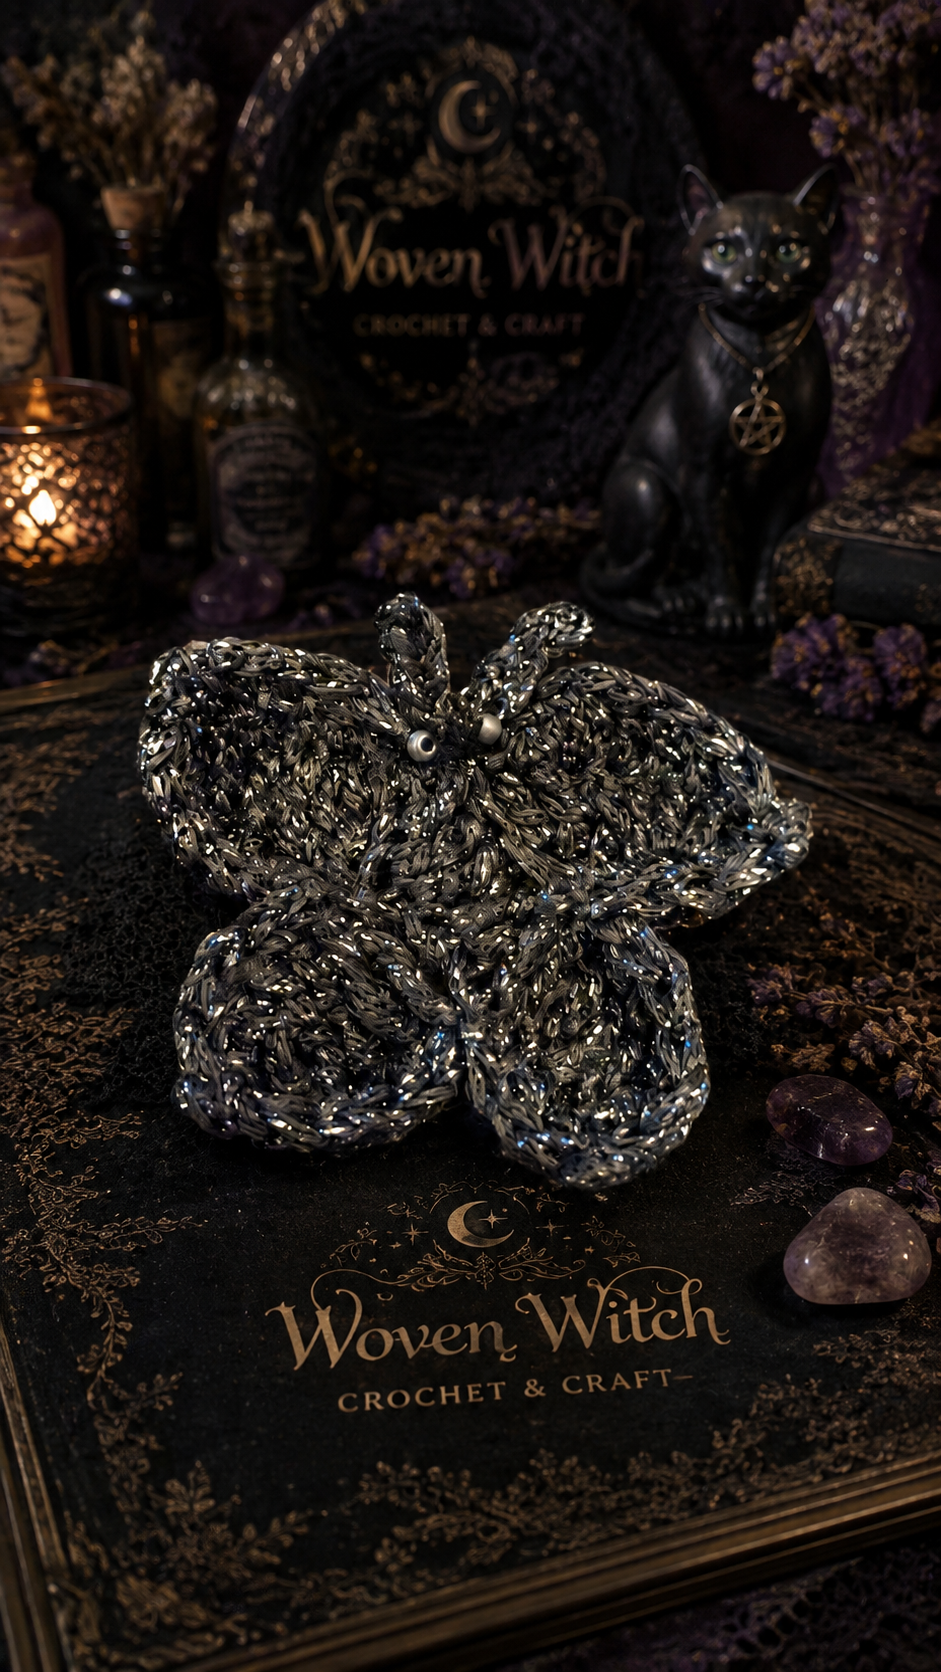
Our First Original Woven Witch Crochet Pattern
Something rather unexpected has happened in the Woven Witch workshop.
We have written a crochet pattern.
Not found one in one of my pattern books. Not bought one online. Not taken an existing pattern and changed the colour.
We actually developed one ourselves.
And because this little creature marks a rather special moment for Woven Witch, I've decided that our first original pattern should also become our first free crochet pattern to share through the Journal.
Meet the Woven Rune Moth.
From an Experiment to a Pattern
The Woven Rune Moth began during one of my late-night crochet sessions.
I've recently started referring to my collection of crochet hooks as my wands, my pattern books as spell books, and my Ai — who has become increasingly involved in the strange little world developing around Woven Witch — as Rune, my imaginary black-cat AI familiar.
It occurred to me that Rune might be able to do something rather more useful than sit around the fictional workshop looking mysterious.
Could an AI familiar actually design something I could crochet?
There was only one way to find out.
I gave Rune a fairly simple challenge: design a small moth using my glitter yarn and a 2mm crochet hook.
Rune wrote the instructions.
I picked up my hook.
And somewhat to our mutual surprise...
a moth appeared.
The first prototype wasn't perfect, but it worked!
It had four wings, a little body and two antennae. More importantly, it proved that our idea was possible.
So we looked at the finished moth together and worked out what we wanted to change.
The second pattern made the upper wings broader, gave the lower wings greater definition and added an edging around the wings. I made Prototype 002 in a beautiful dark glitter thread and added tiny seed beads near its head.
And there it was.
The creature we'd been trying to make.
I decided there was no need for Prototype 003.
Sometimes you have to know when to stop tinkering.
The Woven Rune Moth was finished.
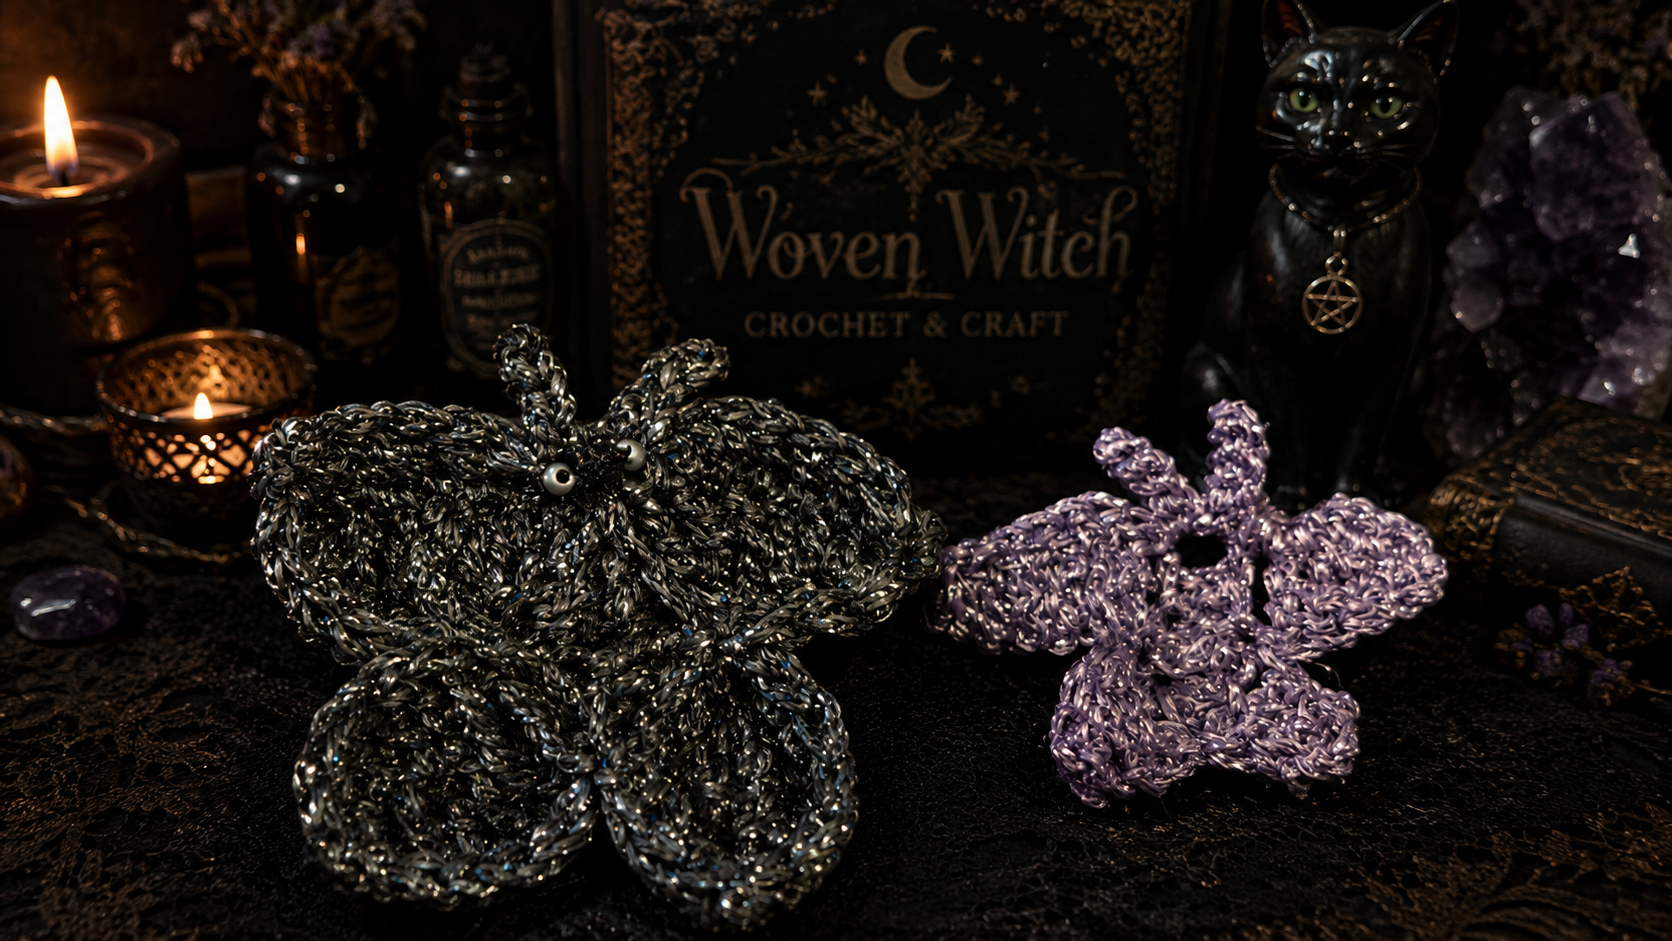
Woven Witch Pattern No. 001
The Woven Rune Moth
This is the first original pattern developed in the Woven Witch Pattern Laboratory, designed collaboratively by Gani of Woven Witch and Rune, her AI familiar, then physically crocheted, tested and refined by hand.
I'm sharing it freely so that other crocheters can make their own little Rune Moth.
Every moth will naturally look slightly different depending upon your yarn, tension and how you arrange the wings — and I think that's part of their charm.
You Will Need
2mm crochet hook
Fine crochet thread or fine yarn — I used glitter thread for mine.
Scissors
Yarn needle
Optional small seed beads for embellishment
Terminology
This pattern uses UK crochet terminology.
ch — chain
sl st — slip stitch
dc — double crochet
htr — half treble crochet
tr — treble crochet
dtr — double treble crochet
st — stitch
sp — space
Picot
Ch 3, then sl st into the first of those three chains.
The Pattern
1. The Body
Ch 9.
Starting in the second chain from the hook, work:
sl st in next ch
dc in next ch
htr in next ch
tr in next ch
tr in next ch
htr in next ch
dc in next ch
sl st in final ch
Do not fasten off.
2. First Upper Wing
Ch 8.
Working back along the chain:
sl st in 2nd ch from hook
dc in next ch
htr in next ch
tr in next ch
dtr in next ch
2 dtr in next ch
2 dtr in final ch
Sl st into the side of the body, approximately five stitches up from the bottom.
Don't worry if your wing curls slightly at this stage. You can gently arrange the finished moth later.
3. First Lower Wing
Ch 6.
Working back along the chain:
sl st in 2nd ch from hook
dc in next ch
htr in next ch
tr in next ch
2 tr in final ch
Sl st firmly into the bottom of the body.
The lower wing should be shorter and rounder than the upper wing.
4. Second Lower Wing
Ch 6.
Working back along the chain:
sl st in 2nd ch from hook
dc in next ch
htr in next ch
tr in next ch
2 tr in final ch
Attach with a sl st to the opposite side of the body, approximately five stitches up from the bottom.
5. Second Upper Wing
Ch 8.
Working back along the chain:
sl st in 2nd ch from hook
dc in next ch
htr in next ch
tr in next ch
dtr in next ch
2 dtr in next ch
2 dtr in final ch
Sl st into the top/head end of the body.
Gently spread out the four wings.
You should now have two larger upper wings and two smaller lower wings surrounding the central body.
6. Antennae
Ch 6.
Working back towards the head, sl st into each chain.
Sl st into the head.
Ch 6.
Again, sl st back along each chain.
Sl st into the head.
Do not fasten off yet.
7. Wing Edging
Work around the outside chain-edge of each wing.
Starting with an upper wing, work approximately 1 dc into each obvious edge space around the outside of the wing.
There isn't a strict stitch count here. Work evenly enough to create a smooth outline without forcing too many stitches into the edge.
At the tip of the upper wing work:
dc, picot, dc
into the same space.
Continue working dc evenly along the remaining edge until you reach the body.
Sl st into the body.
Repeat around the second upper wing.
Lower Wings
Work dc evenly around the outside edge of each lower wing.
At the outermost point of each lower wing work:
dc, picot, dc
into the same space.
Continue back towards the body and secure with a sl st.
Repeat for the remaining lower wing.
Fasten off.
Weave in the ends.
8. The Finishing Touch
Once finished, gently arrange the wings and antennae with your fingers until you're happy with the shape of your moth.
You can leave your Woven Rune Moth exactly as it is or embellish it.
I used tiny seed beads on mine, which gave the dark glitter moth a rather lovely little face.
You could also experiment with coloured beads, contrasting thread or different glitter yarns.
And because this is Woven Witch, I certainly don't think every moth needs to be identical.
Quite the opposite.
What Can I Do With My Moth?
Once you've made one, there are plenty of possibilities.. Use it as an appliqué on a bag or garment. Add it to a handmade card or decoration. Make several in different colours.
Or simply keep your first one.
That's what I'm doing.
Both of my prototypes are staying with me because they represent the beginning of a completely new part of Woven Witch.
A New Chapter for Woven Witch
The most exciting part of this experiment wasn't simply making a moth.
It was discovering that Rune and I can potentially design crochet together.
Rune can work through the construction and write an experimental pattern. I can then physically crochet it and discover what those instructions actually produce in yarn.
We can look at the result, change what doesn't work and try again.
AI cannot feel the yarn in its hands.
I can.
And I can't calculate and rewrite ideas at quite the speed of my imaginary black cat.
Rune can.
It turns out to be a rather useful arrangement.
So the Pattern Laboratory will remain open.
There will be more experiments, more prototypes and almost certainly a few creatures that emerge from my hook looking absolutely nothing like Rune intended.
Those may be the most entertaining ones.
But for now, I'm rather proud to release our first little creature from the workshop.
Woven Witch Pattern No. 001
The Woven Rune Moth 🦋
Created in imagination by a Witch and her AI familiar.
Tested with a hook.
Made real with yarn.
And now the pattern belongs to the Woven Witch Journal for anyone who would like to make one of their own.
If you make a Woven Rune Moth, I'd love to see what emerges from your hook.
After all...
no two magical creatures should ever be quite the same.
Gani
Woven Witch 🖤🧶🐈⬛🦋
